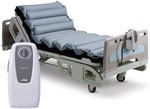
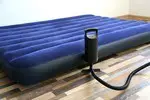
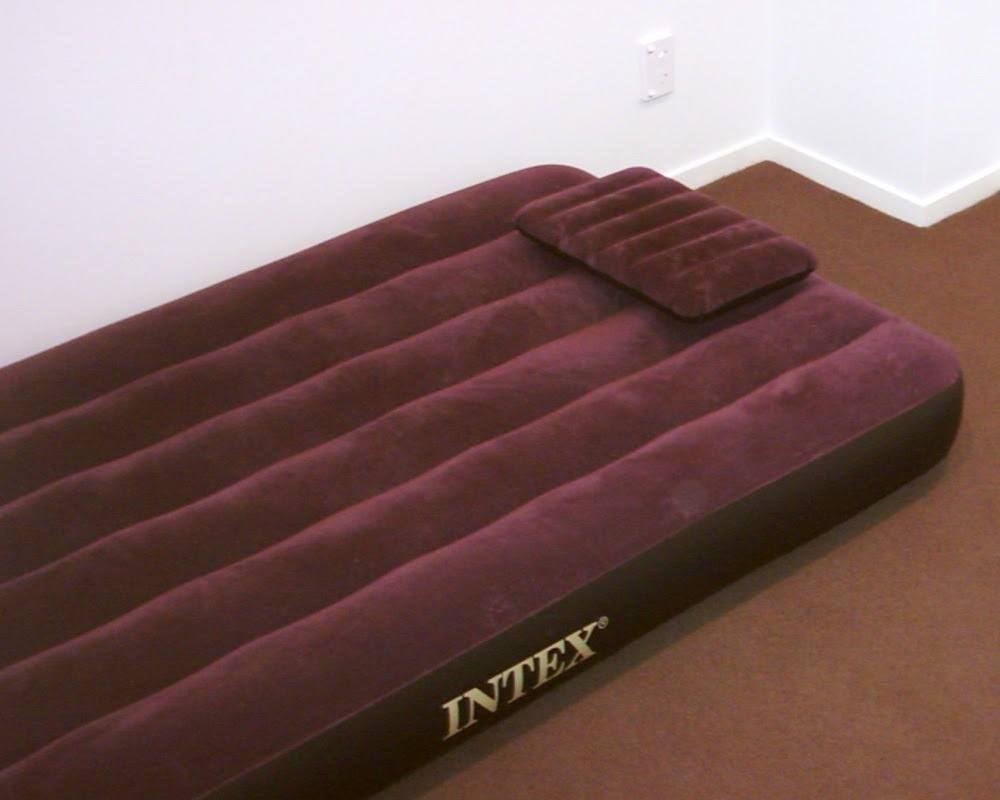
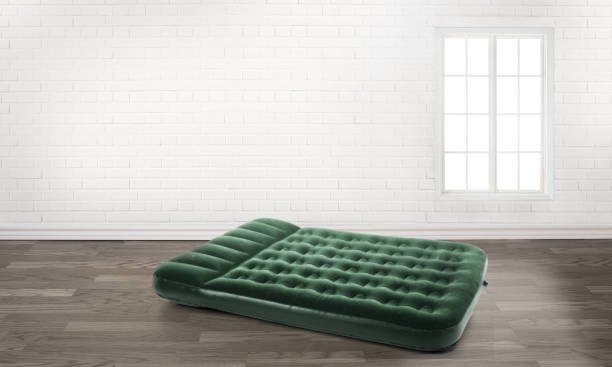
Air mattresses are a fantastic asset to any home.
They’re very easy to use and make a convenient replacement for a standard bed. If you plan on camping or hosting guests, they are quick to set up. Also, they don’t take up a lot of space as you can deflate them and stow them away.
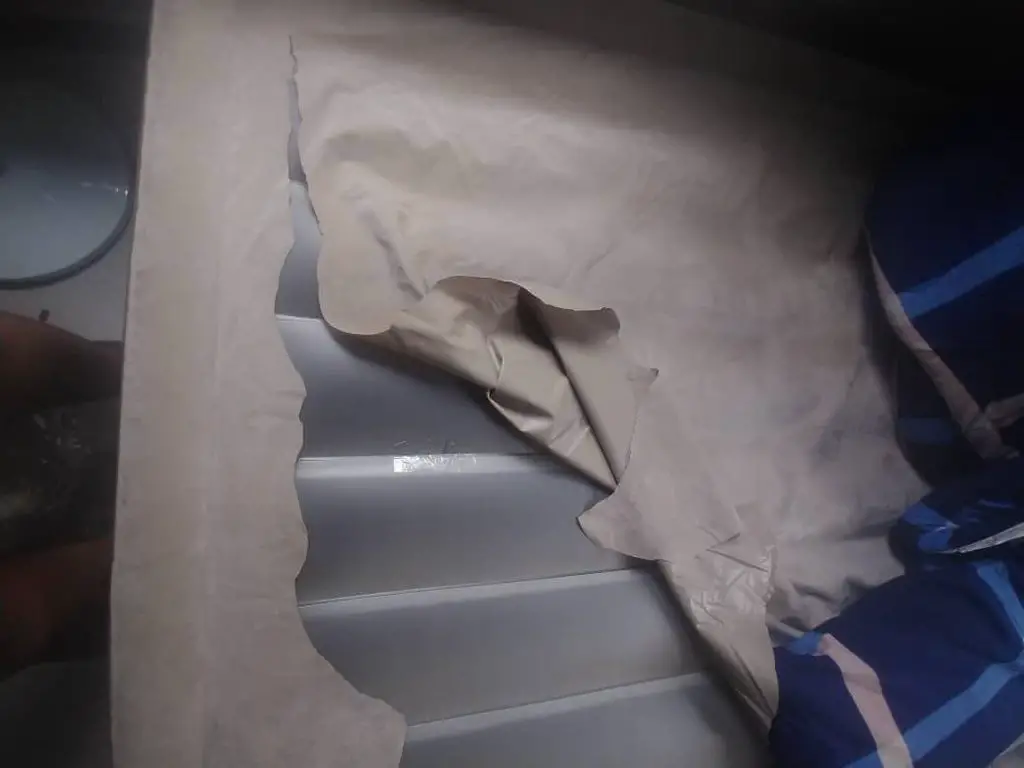
Unfortunately, sometimes accidents occur. Your airbed may suffer surface damage at some point. They are susceptible to leaking, abrasions, and punctures. Even if you treat your mattress well, something can occur.
But what do you do when the fabric side of an air mattress is damaged?
In this guide, we’ll look at some common causes of problems with airbeds. We’ll also run through the easiest ways to deal with them. Let’s get started!
Common Issues/Damage
There are three main causes of damage to an airbed. These have different levels of severity. It’s always advisable to buy an air mattress from a reputable dealership.
These companies have customer support systems that will help you repair or replace your product.
Leaking
Leaking is a common issue with airbeds.
It’s common for mattresses to leak when you first buy them. They will expand and stretch after you inflate them. This is usually not a fault with the product as they will settle down after a couple of times.
If the seams on the fabric side of the mattress tear, you will have a problem. Similarly, if there is an issue with the valve, it’s advisable to contact the manufacturer because it’s very difficult to repair them at home.
Air Bubbles
Air bubbles may occur on the fabric side of the mattress.
Usually, it’s because you’ve overinflated the bed or failed to roll it out properly. Another common cause is applying disproportionate levels of weight to one area of the air mattress’s surface.
Sometimes people wake up in the middle of the night to find a hump in the bed’s fabric. This is uncomfortable and inconvenient. However, air bubbles can be the manufacturer’s fault if they fail to bond the bed correctly.
Later, we’ll look in detail at how to remove bubbles from an airbed.
Punctures
Most premium airbed brands treat their products to be resistant to abrasions and punctures.
Unfortunately, there are no guarantees that they’ll never occur. It’s one of the common hazards of owning an air mattress. They could happen while you’re out camping or if a pet jumps onto the bed.
Luckily, they can sometimes be fixed at home. Soon, we’ll check out the steps of how to fix an air mattress fabric puncture.
How to Avoid Damage
Damage is avoidable in airbeds if you respect the following aspects. Remember these next three points because they could save you a lot of stress and expense!
Weight and Occupancy Limits
Every airbed has weight and occupancy limits.
If an airbed is twin-sized, it’s only meant for one person. It doesn’t matter if the weight restriction is greater than the occupier’s body weight. Two people lying on a twin-size bed will put disproportionate levels of stress on the structure.
There’s a greater chance of air bubbles rising in the fabric and other damage. Also, don’t sit on the edge of the air mattress.
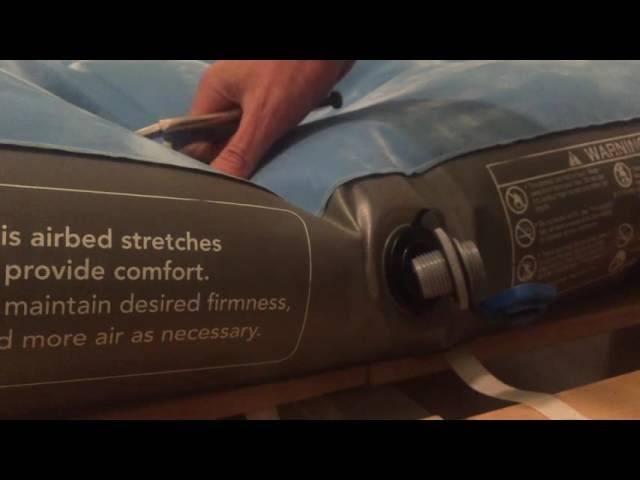
Excessive Inflation
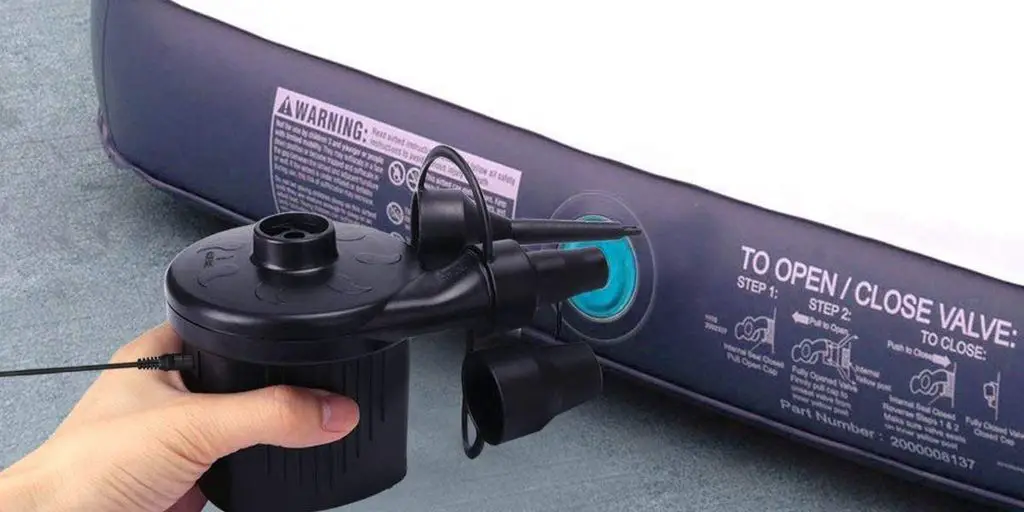
Don’t inflate the bed beyond the specified limits.
If you do, you increase the likelihood of damage. Every user guide will explain this in detail. Even if you prefer a firmer mattress, it’s not worth the potential hassle you’ll endure! Use a decent pump so that you can control the inflation level.
Some airbeds even have multiple settings so that you can choose the most comfortable density for your taste.
Store Correctly
This may seem obvious, but it’s important to store your airbed correctly.
Secure it safely in its carry bag. Then put it carefully into a box or a store cupboard where there is no risk of anything damaging it.
The worse thing that you could do is just fling it into the depths of a closet or an attic!
How to Repair An Air Mattress – A Step-by-Step Guide
Now let’s look at the steps to repair a puncture in the fabric of an airbed!
- Find the Hole
The first thing to do is identify the source of your air mattress’s leak.
This may be immediately obvious. However, if you don’t know where it is, you’ll have to find it. Remove all bedding and other debris off the airbed to make life easier! Move the airbed to a well-lit area and place it against a wall if possible.
Trace the surface of the air mattress with your hand. You may feel a light stream of cool air emitting from a specific spot. It will also produce a slight hissing sound. Mark this spot with a sticky tab or even chalk.
Then continue to trace the remaining surface of the bed. In the worst-case scenario, there may be multiple punctures. It’s important to repair them all. If you can’t find the source of the leak with your bare hand, you’ll need to use water.
Dab the mattress with a sodden cloth or towel. The excess water will sit on top of the mattress. Bubbles will form in the punctured area. Dry the spot and mark it before continuing to check the remainder of the bed.
- Clean the Surface
Before you attempt to patch the fabric surface of the airbed, you should clean it.
There may be grit or other substances that could cause the patch to fall off. Even worse, they could even further damage the bed.
Chemical-free soapy water is perfect for most of the airbed. However, it’s not ideal for the fabric surface of the mattress because it just makes it sodden. Sandpaper is a better option instead.
Firmly rub the afflicted area with sandpaper to remove the suede or fabric surface. This will make it easier to apply the patch later. Otherwise, it may simply fall off because it won’t hold properly.
- Repair the Holes
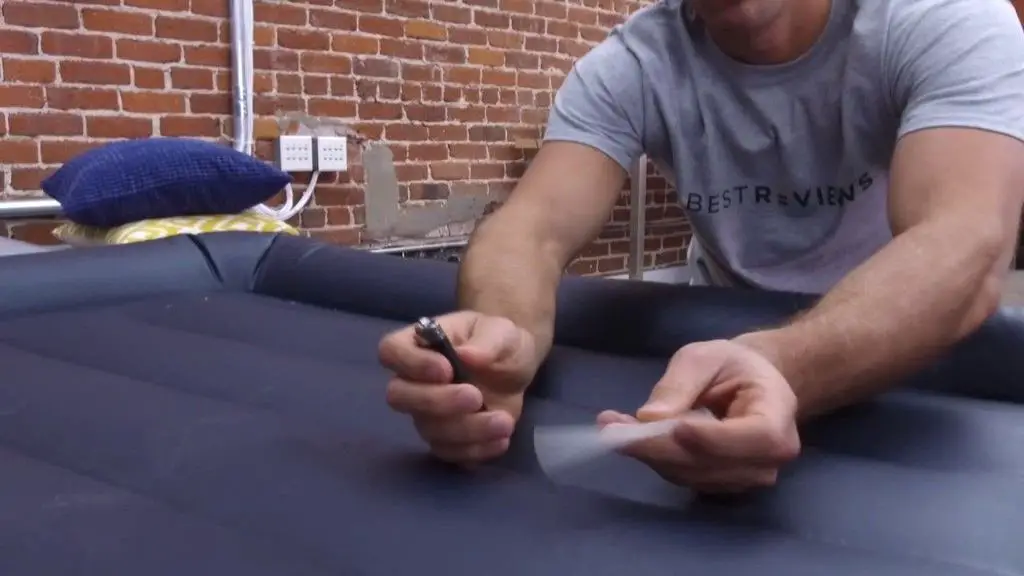
Finally, it’s time to fix the damage.
Remember that the air mattress should be deflated before you begin to repair it. Press down on the surface to speed up the process if need be.
You’ll need some kind of suitable patch. A piece of material from another airbed or even a bicycle puncture repair patch will serve nicely. Furthermore, a strong adhesive glue is required to hold it in place. Apply a spot of adhesive to the hole. Then stick the patch onto it.
Don’t apply too much glue because the patch could move around on the slick surface.
- Check Again
If you checked the entirety of the airbed and marked the holes earlier, you can skip this step.
However, if you didn’t, you’ll need to inspect the remaining areas of the fabric to ensure there is no more surface damage. This may feel tedious but be patient!
- Leave to Dry
Even if your adhesive works very quickly, avoid the temptation to jump straight into bed!
Leave your mattress to settle in its deflated state and the glue to dry. It would be unfortunate to knock the patch off as you inflated the airbed again. One great hack is to place a weighted flat object like a book on the patch.
This pressure will ensure that it sticks nicely!
Avoid using the air bed for the next few hours. Hopefully, the bed will be fully functional again by that point. Inflate the airbed again and check if the patch is holding effectively.
Removing Air Bubbles
Luckily it’s much easier to remove bubbles from the fabric side of an airbed. However, if they reoccur, you may have a bigger problem.
Follow these simple steps.
- Prepare the Airbed
The first thing to do is remove all of the bedding from the air mattress. This will enable you to locate any air bubbles that you missed.
Then lay the airbed on the floor and stretch it out.
- Deflate the Airbed
Now it’s time to remove all remaining air from the airbed. If you have a mattress with a built-in pump, turn the valve to the deflate setting.
Airbeds that rely on external pumps are even easier to deflate. Simply open the valve, and the air will pour out. An easy hack is to gently press down on the surface of the air mattress to speed up the process.
Ensure that all of the bubbles are gone before the next step.
- Inflate the Air Mattress

Finally, inflate the air mattress again.
It’s unlikely that air bubbles will immediately arise if you observe the brand’s inflation specifications. Built-in airbeds are useful in this regard because they automatically do this.
Final Thoughts
Most problems with airbeds are avoidable if you care for your product.
However, sometimes incidents occur that are out of our control. That’s why it’s a good idea to be prepared for every scenario. If you go camping, ensure that you bring your puncture repair kit with you in case you need to patch up your air mattress.
Meanwhile, store your airbed away when you’re not using it to reduce the risk of accidental damage. Finally, always buy from a decent brand with a warranty!